
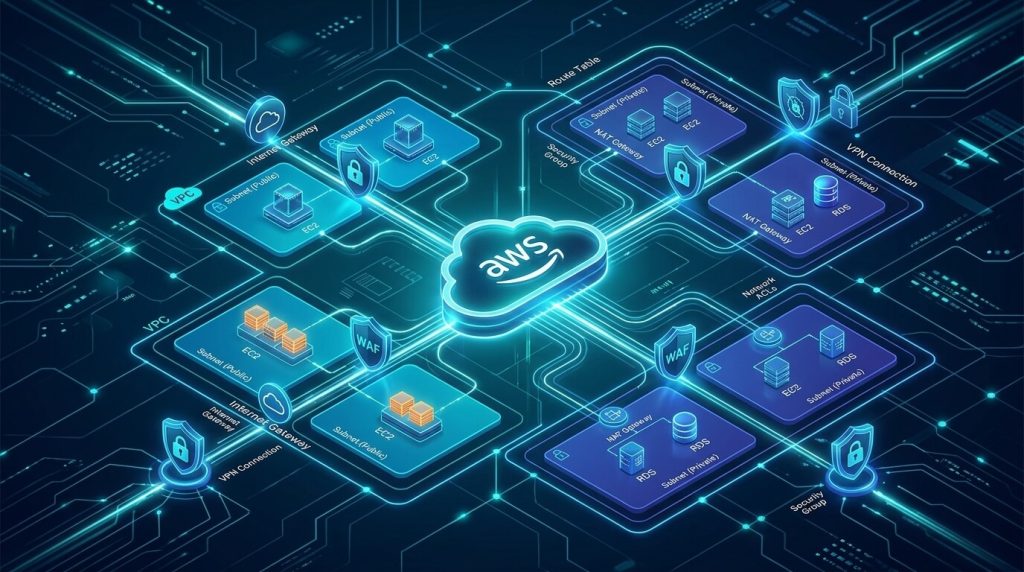
Networking is the foundation of any reliable cloud infrastructure. When working with Amazon Web Services (AWS), setting up a Virtual Private Cloud (VPC) gives you complete control over your network environment, allowing you to isolate resources securely.
In this guide, we will build a secure, custom VPC from scratch using Terraform instead of configuring components manually. To follow along, you will need an active AWS account and Terraform installed on your machine. By the end of this tutorial, you will have a fully automated, production-ready network architecture that you can deploy with confidence.
1. Core AWS Networking Concepts
Before diving into the Terraform code, let’s review the essential components of an AWS VPC:
- VPC CIDR Block: The primary IP address range assigned to your virtual network (e.g.,
10.0.0.0/16). - Subnets: Sub-divisions within your VPC:
- Public Subnet: Connected to the Internet Gateway, allowing resources (like web servers) to communicate directly with the internet.
- Private Subnet: Isolated from the public internet, ideal for databases and backend application servers.
- Internet Gateway (IGW): A VPC component that allows communication between instances in your public subnets and the internet.
- Route Tables: A set of rules (routes) used to determine where network traffic is directed.
2. Designing a Custom VPC Architecture
We will build a multi-tier VPC architecture containing:
- 1 Custom VPC (
10.0.0.0/16) - 1 Public Subnet (
10.0.1.0/24) - 1 Private Subnet (
10.0.2.0/24) - 1 Internet Gateway attached to the VPC
- 1 Route Table with an Internet route for the Public Subnet
3. Terraform Code Implementation
Create a file named main.tf in your Terraform project folder and add the following code blocks:
Step 1: Create the VPC & Internet Gateway
Create the Custom VPC
resource "aws_vpc" "custom_vpc" {
cidr_block = "10.0.0.0/16"
enable_dns_hostnames = true
enable_dns_support = true
tags = {
Name = "KawtarCloud-VPC"
Environment = "Production"
}
}Create the Internet Gateway
resource "aws_internet_gateway" "igw" {
vpc_id = aws_vpc.custom_vpc.id
tags = {
Name = "KawtarCloud-IGW"
}
}Step 2: Define Public and Private Subnets
Create a Public Subnet
resource "aws_subnet" "public_subnet" {
vpc_id = aws_vpc.custom_vpc.id
cidr_block = "10.0.1.0/24"
availability_zone = "us-east-1a"
map_public_ip_on_launch = true
tags = {
Name = "KawtarCloud-Public-Subnet-1"
}
}Create a Private Subnet
resource "aws_subnet" "private_subnet" {
vpc_id = aws_vpc.custom_vpc.id
cidr_block = "10.0.2.0/24"
availability_zone = "us-east-1b"
tags = {
Name = "KawtarCloud-Private-Subnet-1"
}
}Step 3: Configure Route Tables and Associations
Create a Public Route Table
resource "aws_route_table" "public_rt" {
vpc_id = aws_vpc.custom_vpc.id
route {
cidr_block = "0.0.0.0/0"
gateway_id = aws_internet_gateway.igw.id
}tags = {
Name = "KawtarCloud-Public-RouteTable"
Associate Public Subnet with Public Route Tableresource "aws_route_table_association" "public_assoc" {
subnet_id = aws_subnet.public_subnet.id
route_table_id = aws_route_table.public_rt.id
}Deploying the VPC with Terraform
Now that the architecture is defined, run the standard Terraform workflow to provision the network in your AWS account:
Initialize Terraform and download AWS provider
terraform initValidate the configuration and review resources
terraform planDeploy the network infrastructure to AWS
terraform apply -auto-approveWatching Terraform Bring Your Infrastructure to Life
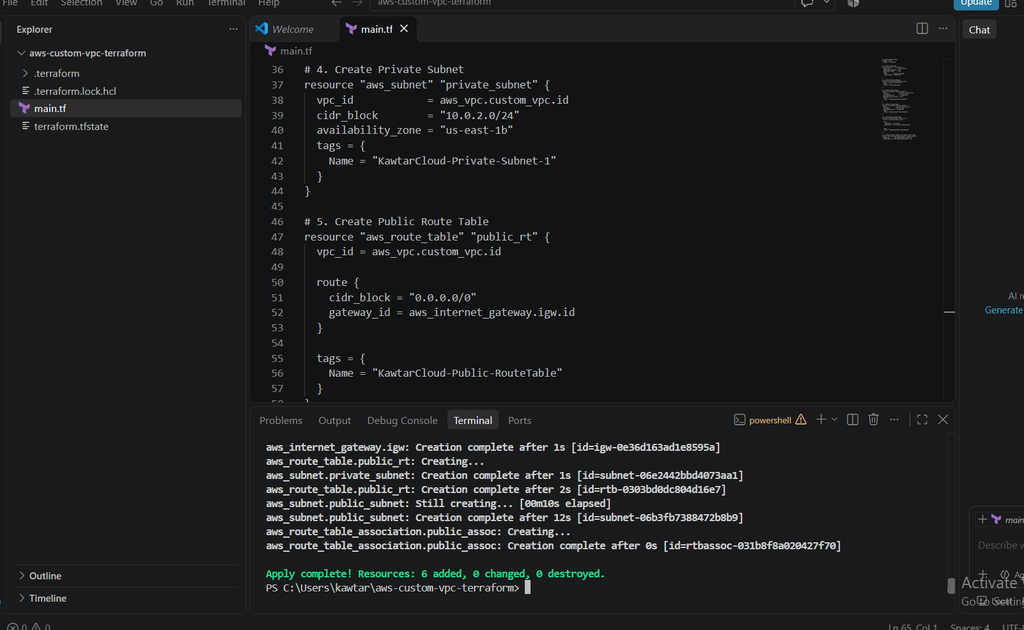
Once you hit enter, Terraform gets to work provisioning everything on AWS. Looking at the terminal output, you can see how each resource is successfully created, giving you the green light that your custom VPC, subnets, and gateways are fully up and running.
Verification and Best Practices
Once Terraform finishes deployment, verify your resources in the AWS Management Console under VPC ➔ Subnets / Route Tables.
Security Best Practices:
- Isolate Sensitive Data: Always place databases (RDS) and internal APIs inside Private Subnets.
- Use Security Groups & NACLs: Restrict inbound and outbound traffic by using stateful Security Groups and stateless Network ACLs.
- NAT Gateway for Private Subnets: If instances in the private subnet need internet access (e.g., for software updates), deploy a NAT Gateway in the public subnet.
CONCLUSION
Designing a custom VPC from scratch gives you full visibility and control over your AWS network traffic. By defining your subnets, route tables, and gateways through Terraform, you eliminate manual console errors and establish a clean, production-ready environment that can be deployed again in seconds.
Get the Source Code
The complete Terraform codebase for this architecture is open-source and ready for testing. You can clone the project, review the resource definitions, and deploy it in your own environment:
👉 Access the AWS VPC Terraform Repository on GitHub
Next Steps for Security:
Building your network is just the first step. To ensure your resources remain protected behind robust access controls, check out our guide on AWS IAM Security Best Practices.